Now that you have your ingredients ready, let’s dive into the steps for making this delightful Christmas Chocolate Kahlúa & Baileys Pudding Shot. It’s as easy as pie, and I promise you’ll feel like a culinary superstar!
Step 1: The Foundation – Chill Your Bowl
For the freshest, most stable whipped cream topping, place your mixing bowl and whisk attachments in the freezer for about 15-20 minutes before you begin. A cold bowl is the secret to perfectly whipped cream.
Step 2: Combine the Liquids and Pudding Mix
In a large mixing bowl, pour in the whole milk, Baileys Irish Cream, and Kahlúa. Whisk them together briefly just to combine. Sprinkle the entire contents of the instant chocolate pudding mix over the liquid mixture.
Step 3: Whisk to Perfection
Using an electric hand mixer or a sturdy whisk, beat the mixture on medium speed for exactly two minutes. It will begin to thicken noticeably. It is crucial to beat for the full two minutes to activate the pudding’s setting agents properly.
Step 4: Fold in the Whipped Topping
After two minutes of whisking, the pudding will be thick but not fully set. Now, using a spatula, gently fold in the thawed frozen whipped topping. Be careful not to stir vigorously; instead, use a “fold and turn” motion to incorporate it fully while maintaining as much air as possible. This is what creates the signature light, mousse-like texture.
Step 5: Assemble the Shots
Immediately transfer the pudding mixture into a piping bag fitted with a large star tip, or simply use a spoon. Divide the mixture evenly among 16-18 small (2-ounce) plastic or glass shot cups. Fill them about ¾ of the way full to leave room for the whipped cream topping. Gently tap the cups on the counter to settle the pudding and remove any air bubbles.
Step 6: Create the Fresh Whipped Cream Topping
Retrieve your chilled bowl and whisk attachments. Pour in the heavy whipping cream, powdered sugar, and vanilla extract. Starting on low speed and gradually increasing to high, whip the cream until stiff peaks form. This means when you lift the whisk, the peak of cream will stand straight up and not droop.
Step 7: Final Assembly and Garnish
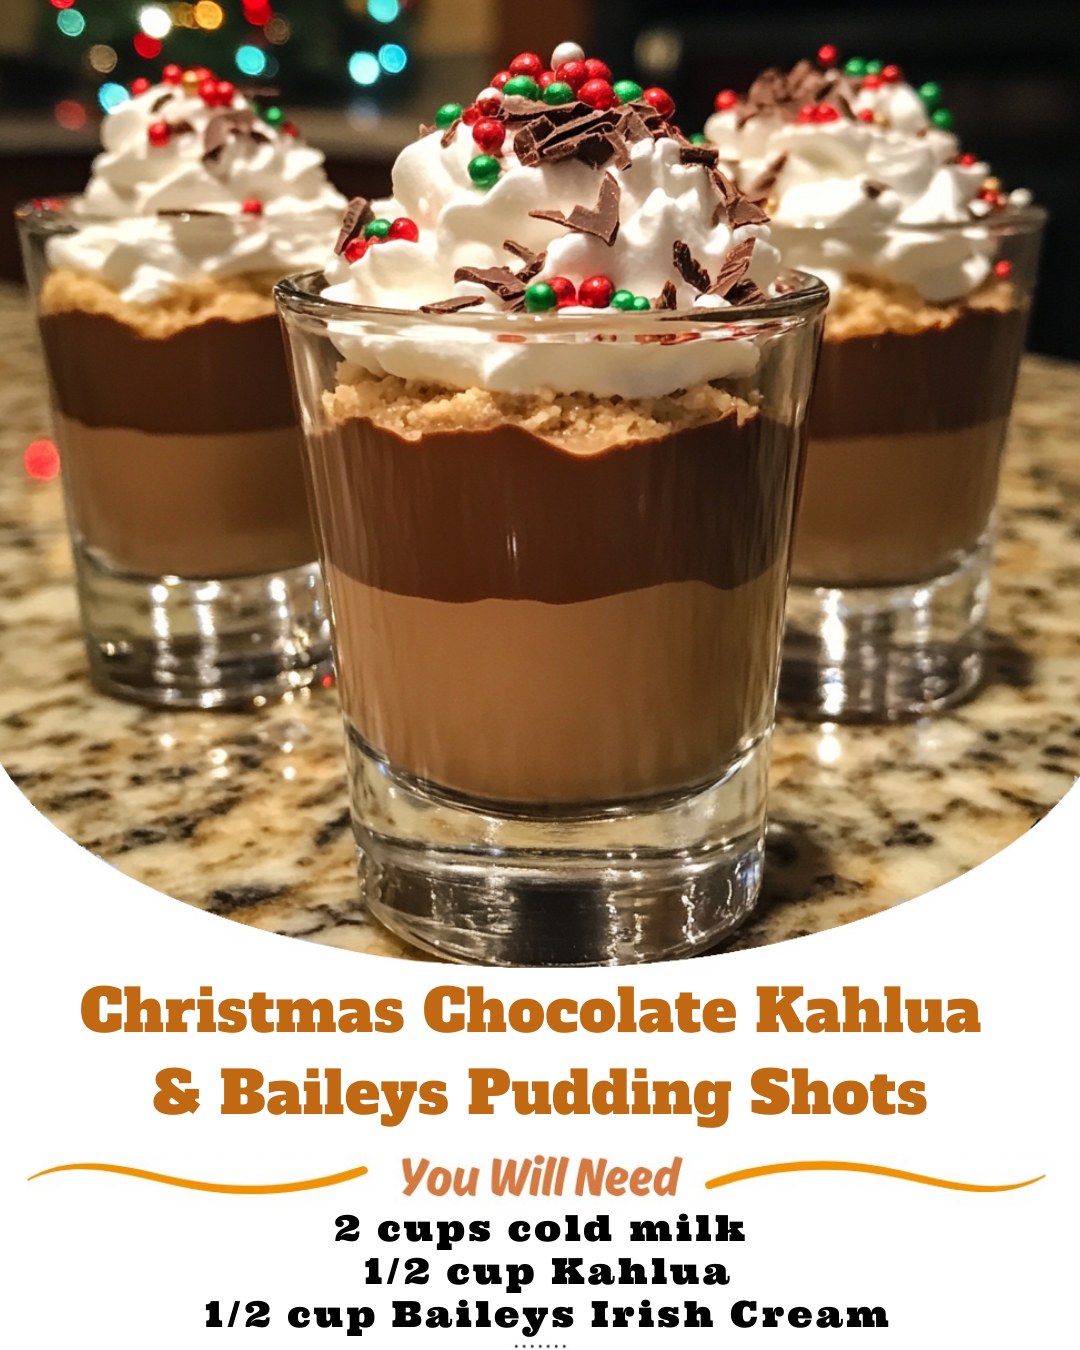
Pipe or spoon a generous dollop of the fresh whipped cream onto each pudding shot. Now, unleash your holiday spirit! Garnish immediately with your chosen toppings: a dusting of cocoa powder, a sprinkle of crushed peppermint, a few holiday sprinkles, or some mini chocolate chips.
Tips for Success:
Use Instant Pudding Only: This is non-negotiable. Cook & Serve pudding will not set in this recipe.
Don’t Overmix the Folding: When incorporating the whipped topping, overmixing can deflate the mixture, resulting in a denser shot.
The Power of the Pipe: Using a piping bag for both the pudding and the whipped cream creates a professional, polished look with minimal effort.
Garnish Immediately: Garnishing right after adding the whipped cream ensures the toppings will stick perfectly.
Taste Test for Booziness: If you prefer a stronger liqueur flavor, you can adjust the ratio slightly, but be cautious. Replacing more than a tablespoon or two of the milk with additional alcohol can prevent the pudding from setting firmly.
Keep it Cold: Until serving, these shots MUST be stored in the freezer. The refrigerator is not cold enough to maintain the perfect, semi-frozen “pudding pop” texture.

Equipment Needed:
Electric Hand Mixer or Stand Mixer
Large Mixing Bowl
Measuring Cups and Spoons
Spatula
16-18 (2-ounce) Plastic or Glass Shot Cups
Piping Bags and Star Tips (optional but recommended)
Small bowls for garnishes
Variations of Christmas Chocolate Kahlúa & Baileys Pudding Shot:
See more on the next page
Advertisement
