Growing orchids from scratch can be an exciting and rewarding process, especially when you know the right techniques. In this guide, I will show you how to grow orchids, propagate them, and successfully get baby orchids, also known as keikis. One of the key ingredients for this method is garlic, a natural and beneficial element in orchid care. Let’s dive into the step-by-step process.
Preparing the Garlic Solution


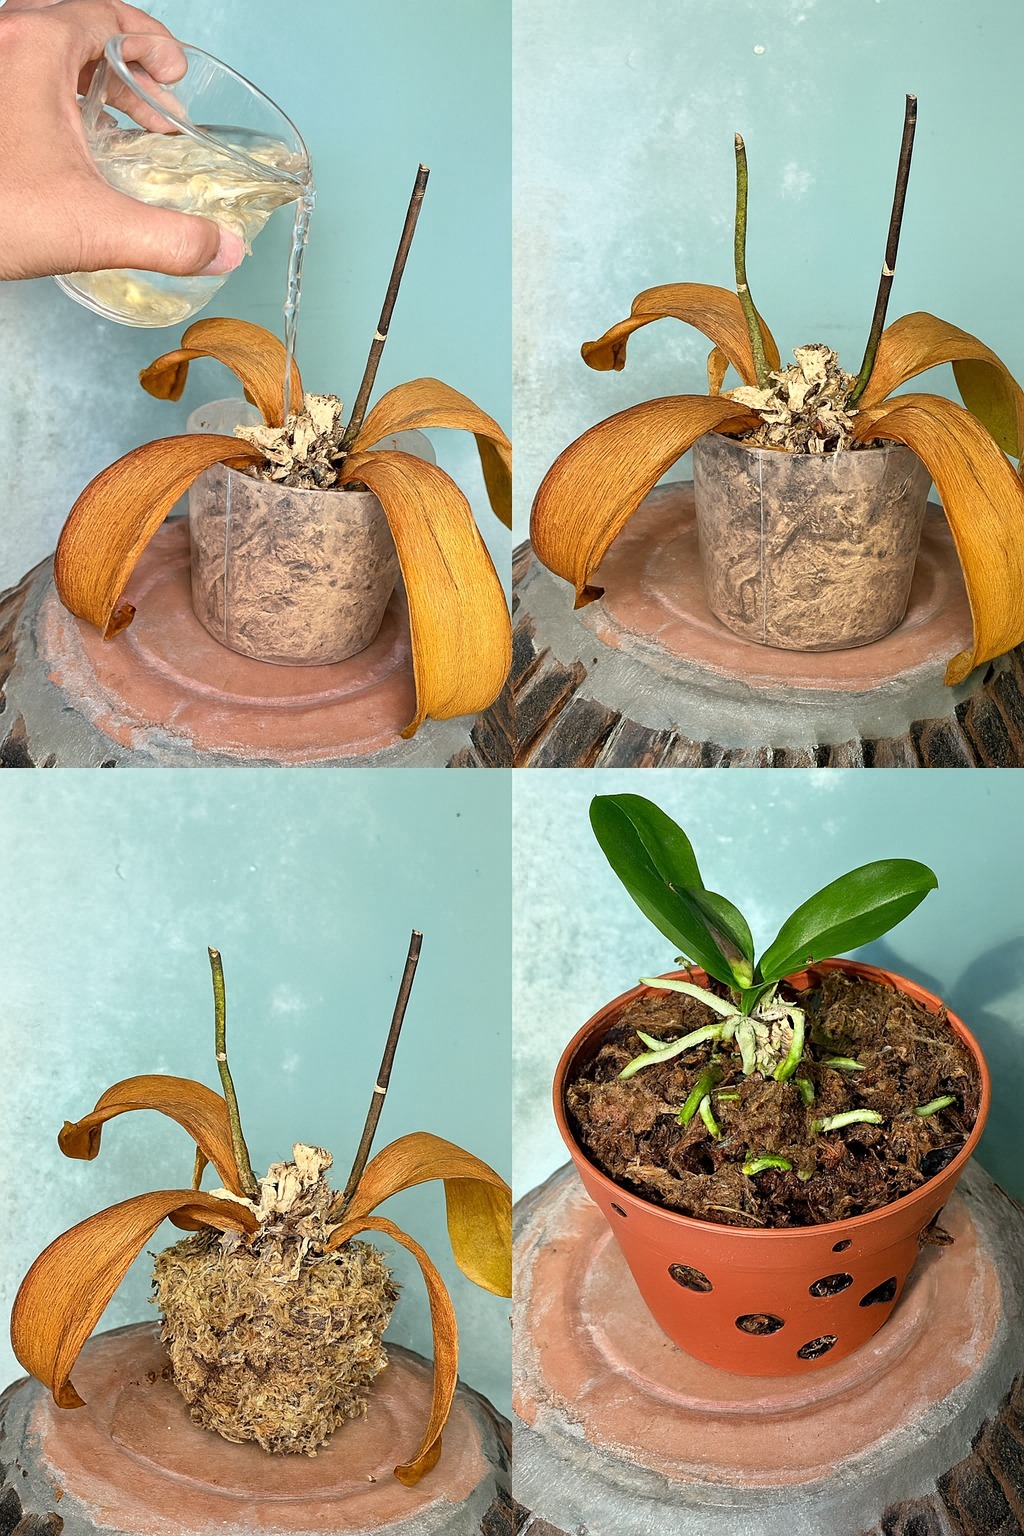
Garlic is a powerful natural disinfectant and growth booster for orchids. To create the garlic solution:
-
- Take a single clove of garlic, including its peel, as the peel contains essential nutrients.
- Chop the garlic clove finely and place it into a 300 ml glass bottle.
- Fill the bottle with water and let the mixture sit for 30 minutes.
While the garlic water is resting, we will prepare the orchid branches for propagation.
Selecting and Pruning the Orchid Branch
To propagate orchids successfully, you need a strong and healthy branch. Follow these steps:
-
- Identify a healthy main branch, avoiding weak side branches, as they are less likely to produce keikis.
- The chosen branch should be active, green, and full of life.
-
- Cut the branch at the base using a sterilized sharp tool. Ensure a clean cut to avoid crushing the stem.
- Inspect the branch for green nodes—each node has the potential to sprout a baby orchid or a flower spike.
- Trim off the dried parts and leave three nodes on the branch. Keeping multiple nodes increases the chances of success and prevents the branch from drying out completely.
See more on the next page
Advertisement
