Patience is key in this process. The humid environment within the bottle helps the nodes activate, encouraging the growth of keikis. Here’s what to expect:
-
- Over time, condensation will form inside the bottle, maintaining the necessary humidity.
- The nodes will begin to swell, and after a few months, a keiki or a flower spike will start to emerge.
- In some cases, instead of a keiki, a flower branch may develop. This is also a successful result, as it means the branch is active and healthy.
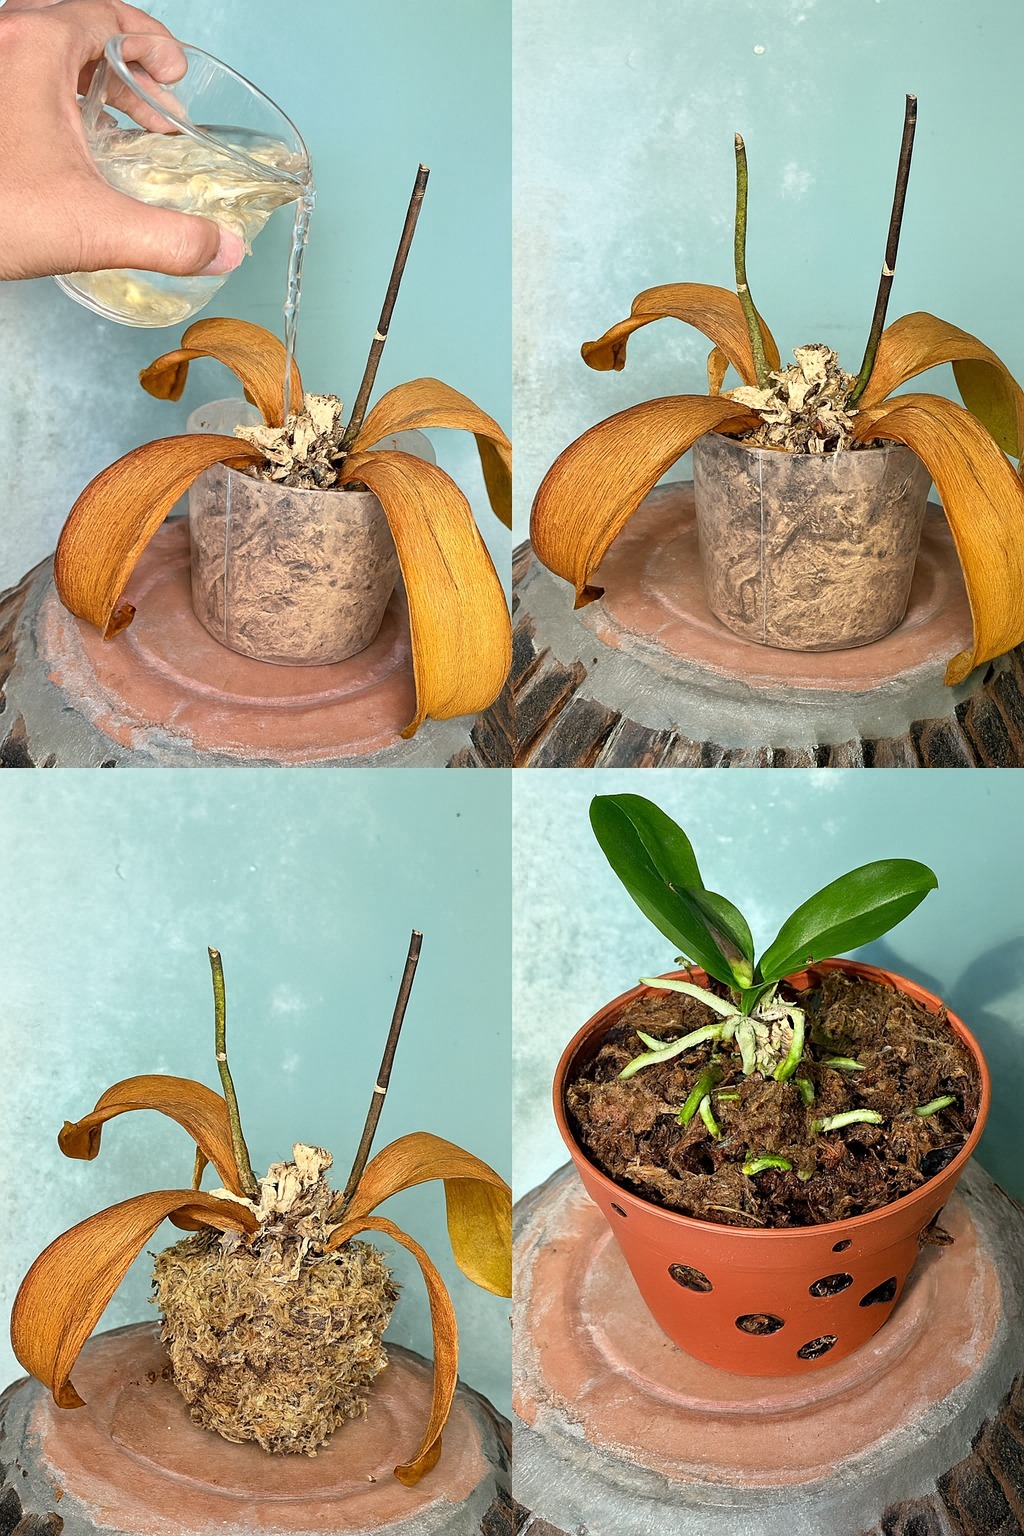
Transferring the Keiki to a Pot
Once the keiki has grown sufficiently, it is time to plant it:
-
- The keiki should have at least 3-5 roots, each measuring around 4-5 cm before planting.
- Prepare a pot with good drainage holes.
-
- Layer the bottom of the pot with clay balls to enhance drainage and moisture retention.
- Add a layer of moss on top of the clay balls and spray it with water to moisten.
- Place the keiki carefully, ensuring its roots are positioned on the moss layer.
- Continue adding alternating layers of clay balls and moss, keeping the environment humid but not overly wet.
Caring for the Newly Planted Orchid
After potting, follow these care tips:
-
- Place the orchid in a bright location, such as a windowsill, where it will receive ample indirect sunlight.
-
- Water the plant carefully, ensuring the soil remains moist but not waterlogged.
- Monitor the orchid’s growth and provide liquid plant nutrients occasionally to encourage development.
- Be patient—orchids take time to grow, and the entire process from cutting to full growth can take 7-8 months.
Conclusion
Propagating orchids using this garlic water method is highly effective, though it requires patience and consistent monitoring. With the right conditions, your orchids will develop keikis, grow new roots, and eventually thrive as independent plants. By following this step-by-step guide, you can enjoy the process of growing new orchids from scratch and expanding your collection effortlessly. Happy growing!
See more on the next page
Advertisement
