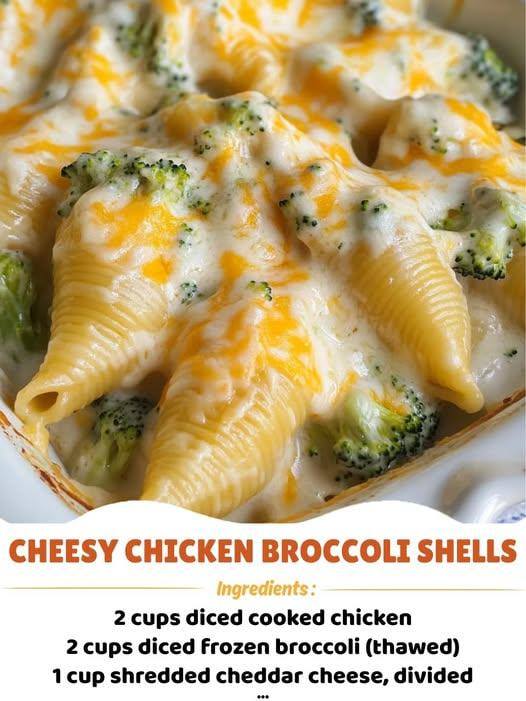
Step 1: Prepare the Shells
- Preheat your oven to 180°C (350°F). Lightly coat a 33×23 cm (9×13 inch) baking dish with non-stick spray or a thin layer of oil.
- Bring a large pot of salted water to a boil. Cook the jumbo pasta shells according to package directions until just al dente — tender but still slightly firm. Avoid overcooking, as they’ll continue baking later.
- Drain and rinse the shells under cold water to stop the cooking process. Spread them out on a clean tray or lightly oiled surface to cool while you prepare the filling.
Step 2: Prepare the Filling
- Reserve 120 ml (½ cup) of the Alfredo sauce for topping later. In a large mixing bowl, combine the remaining Alfredo sauce with diced chicken, thawed broccoli, 75 g of cheddar cheese, and the Parmesan cheese.
- Stir until all ingredients are evenly coated and the mixture is creamy. The Alfredo sauce acts as a binder, while the cheeses enrich the filling and the broccoli adds texture and freshness.
Step 3: Assemble the Shells
- Using a spoon, carefully fill each cooled pasta shell with the chicken-broccoli mixture. You should have enough filling for about 24 shells, depending on size and fullness.
- Arrange the stuffed shells in a single layer inside the prepared baking dish, fitting them snugly but not overcrowded. This ensures even baking and proper heat circulation.
Step 4: Add the Finishing Touches
- Drizzle the reserved Alfredo sauce evenly over the filled shells, letting it seep between them for extra creaminess.
- Sprinkle the remaining 25 g of cheddar cheese across the top. The extra cheese will melt into a beautiful, golden layer during baking.
Step 5: Bake and Serve
- Place the dish in the preheated oven and bake for 20 minutes, or until the sauce is bubbling and the cheese on top is fully melted and slightly golden.
- Remove from the oven and allow to cool for 5 minutes before serving — this resting time helps the filling set slightly, making the shells easier to plate.
Tips & Variations
See more on the next page
Advertisement
