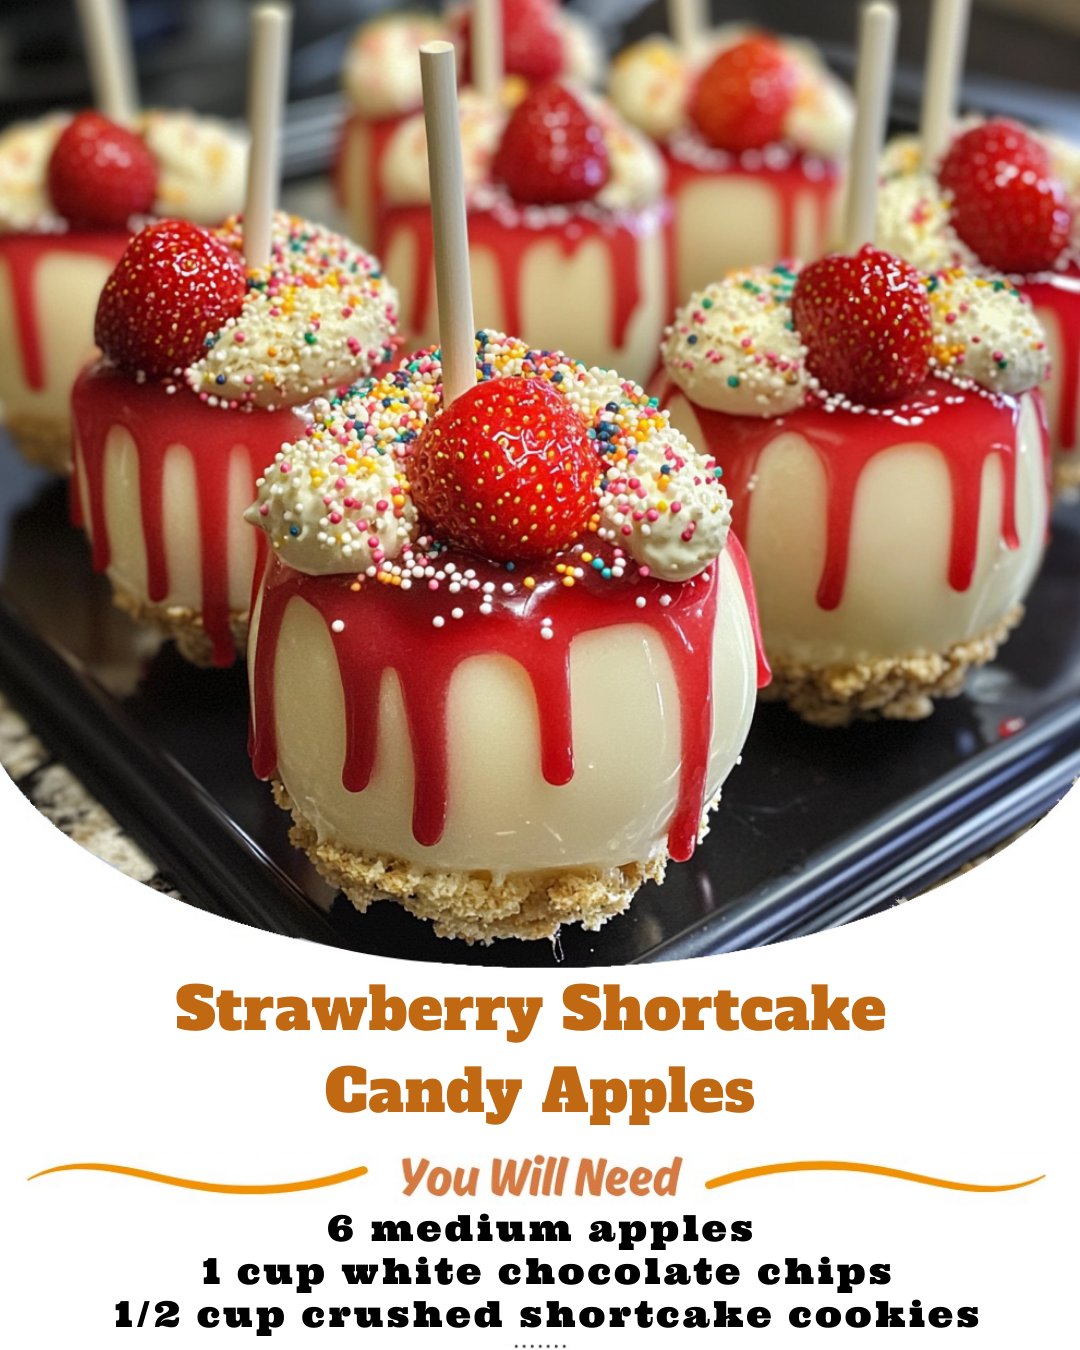
Now that you have your ingredients ready, let’s dive into the steps for making this delightful Strawberry Shortcake Candy Apple. It’s as easy as pie, and I promise you’ll feel like a culinary superstar!
Step 1: Mise en Place & Apple Prep
This is the most critical preparation step. Wash and thoroughly dry the Granny Smith apples. Any moisture on the skin will prevent the coatings from adhering. Remove the stems and firmly insert a wooden stick into the core of each apple, pushing about halfway through. Line a baking sheet with parchment paper and lightly grease it. Have your shortbread crumble topping mixed in a shallow bowl and ready to go.
Step 2: Create the Shortbread Crumble Topping
In a food processor or a zip-top bag with a rolling pin, crush the shortbread cookies into small, sandy crumbs with some slightly larger pieces for texture. In a separate bag, crush the freeze-dried strawberries, aiming for a mix of fine powder and small chunks. Combine the cookie crumbs, crushed strawberries, and sanding sugar in a shallow bowl. Set aside.
Step 3: Melt the White Chocolate Base Layer
Using a double boiler or a heatproof bowl set over a pot of simmering water (ensure the bowl doesn’t touch the water), melt the white chocolate with 1 teaspoon of coconut oil. Stir continuously until completely smooth. If using a microwave, heat in 30-second bursts at 50% power, stirring each time, until melted. Caution: White chocolate scorches easily. Keep the heat low and gentle.
Step 4: Apply the White Chocolate Layer
Holding an apple by the stick, dip it into the melted white chocolate, swirling and tilting to coat it about two-thirds to three-quarters of the way up. Allow the excess to drip off. You do not need a thick layer; this is a glue and a flavor barrier. Place the white chocolate-dipped apple on the prepared parchment paper and immediately transfer the entire baking sheet to the refrigerator for 15-20 minutes, or until the chocolate is completely firm and set.
Step 5: Create the Strawberry Candy Coating
While the white chocolate sets, melt the pink candy melts in a clean, deep, narrow bowl or the top of a double boiler with the remaining 1 teaspoon of coconut oil. This oil is crucial for a thin, smooth, drip-free coating. Once melted, stir in the strawberry extract and the freeze-dried strawberry powder (if using). If the mixture is too thick for easy dipping, add another 1/2 teaspoon of oil.
Step 6: The Final Dip and Crumble Application
Remove the apples from the refrigerator. Working quickly with one apple at a time, dip it into the warm strawberry candy coating, swirling to cover the entire white chocolate layer and creating a seamless, glossy pink shell. Let the excess coating drip back into the bowl.
Step 7: Apply the Topping and Set
While the strawberry coating is still wet, hold the apple over the bowl of shortbread crumble. Use your dry hand to gently press and sprinkle the crumble mixture onto all sides of the apple, ensuring full coverage. Return the finished apple to the parchment-lined sheet. Repeat with the remaining apples. Allow them to set completely at cool room temperature until the candy shell is hard (about 1-2 hours). Do not refrigerate to set the candy shell, as it can cause condensation and stickiness.
Tips for Success:
Dry Apples Thoroughly: After washing, dry the apples, then let them sit at room temperature for another 30 minutes to ensure no internal moisture seeps out.
Prevent Crystallization: Never let water or steam get into your melting chocolate or candy. Even a drop can cause it to seize and become unusable.
The Right Melt Temperature: If using pure chocolate, temper it for a snappier, shinier finish. For simplicity, candy melts are more forgiving and do not require tempering.
Work Quickly but Carefully: The coatings will begin to set. Have your station set up in an assembly-line fashion for efficiency.
Use a Deep, Narrow Bowl: A tall, narrow container for dipping requires less coating and makes it easier to fully submerge the apple.

Equipment Needed:
See more on the next page
Advertisement
